How to Remove and Reuse High Tensile Fence Part 2 covers the remaining content of me removing the high tensile fence for future use. We cover how to remove the insulators from T-posts and pressure treated wood posts, how to remove the wood posts themselves, and how to prepare the ratchets for future use.
Here is a link to part 1 of this post: https://greatescapefarms.com/how-to-remove-and-reuse-high-tensile-fence-part-1/
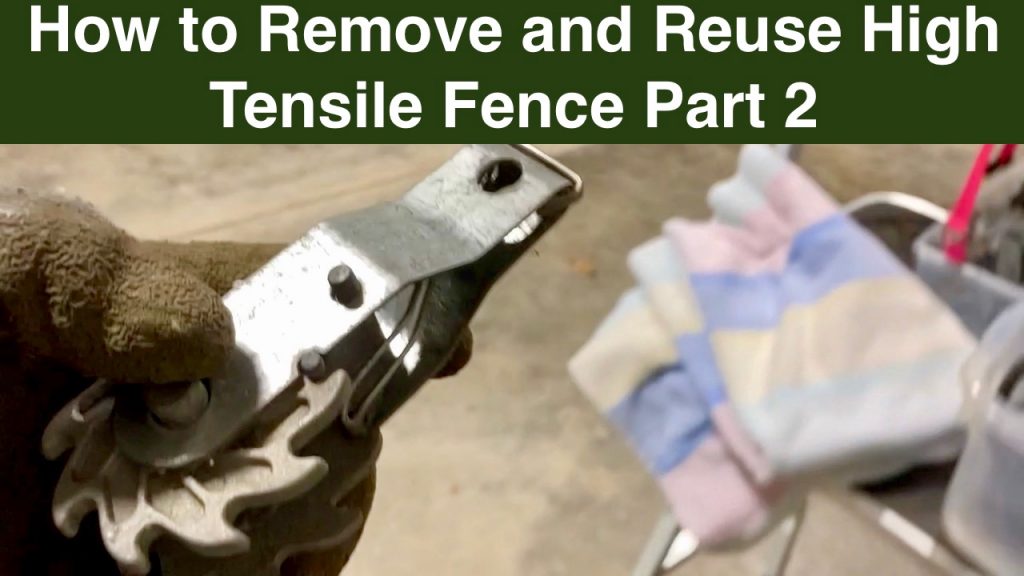
How to Remove and Reuse High Tensile Fence Part 2
When removing insulators from T-posts I simply use a pair of fence pliers to turn them one quarter turn on the post and then slide them up the post. If the top of the post is bent or damaged then I’ll turn the insulator half way around to completely remove it. In cold weather I try not to “man handle” the plastic insulators too much as they will break. Check out the video for a better representation on how to remove the insulators.
Next, the pressure treated wood posts need to have the fence staples removed. I use the fence pliers to pull them out. You could also use a pair of pliers or a flat head screw driver. Then, I use a pry bar and hammer to remove the insulators on the wood post. Again, check out the video to exactly how to do that so they can be removed.
The next step is to remove the braces on the pressure treated wood posts. You’ll generally find these at corners or near gates on the fence. I simply cut the ratchets off and take them back to the garage and clean them up at the end of the day.
Post Removal
To remove the wood posts I simply give them a push with the tractor and pull them out. I can only do this because they are not in the ground very far (only about 2 foot) and they are not cemented in. If you are without a tractor to push the posts, you can try pushing the posts by hand or digging a hole next to the post and then try loosening the post and removing it. Once the post is removed, be sure to fill the hole in with dirt so you or your pets or wild animals don’t step in the hole and get hurt.
At the end of the day I take all of the parts back to the garage and sort it out. I remove any wire from the ratchets so they can be reused. I toss the small sections of wire in metal recycle and keep the larger sections of wire. The insulators will be cleaned up and stored for future use as will the fence posts.
Because of the length of this video I did a separate video on removing T-posts, removing the gates, and a few product reviews. As those get posted I’ll include links below.
The Video
Want to Help A Small Business Out?
If you are local you can support our small business by buying plants at Great Escape Nursery . You can also help us by shopping on Amazon just by going through our storefront! As an Amazon Associate, I earn commission from qualifying purchases. There is no additional cost to you! Our storefront at Amazon is located at this link: https://www.amazon.com/shop/greatescapefarms.
Buying from either location helps our business produce more content for you. If you like this blog post and want to find out more about Great Escape Farms check out our Great Escape Farms Overview. Here you get an overview of all the wonderful stuff we are involved in. Also, sign up for our email list at the bottom of the linked page.
Great Escape Farms is now on Patreon! You can support us for as little as $1. If you enjoy our work and want to help support us, please check out our Patreon page at: https://www.patreon.com/gef.
Leave a Comment