This post, titled How to Stratify Seeds | Start Seed Stratification, explains why you need to stratify seeds and how to stratify seeds.
There are seeds that you can take right off the plant, put in the ground, and a new plant will start. I did that with green beans last year. I planted them, they produced beans (seeds), I picked them and planted them. They grew into new bean plants and I did the same process again. I did this for three generations in year.
How to Stratify Seeds – What is it

Other seeds go dormant and do not allow this to happen. They have protection that gives the plant a better chance of surviving. If certain seeds started growing right away and a frost or freeze hits them when they are very young and have not established a good root system yet, they will likely die. A protection method that plants have is to stay dormant until the seeds have had a period of cold weather and then warmth. Many seeds require 90 days or more of this cold weather to break dormancy. The cold needed is usually 34 to 39 degrees.
How to Stratify Seeds
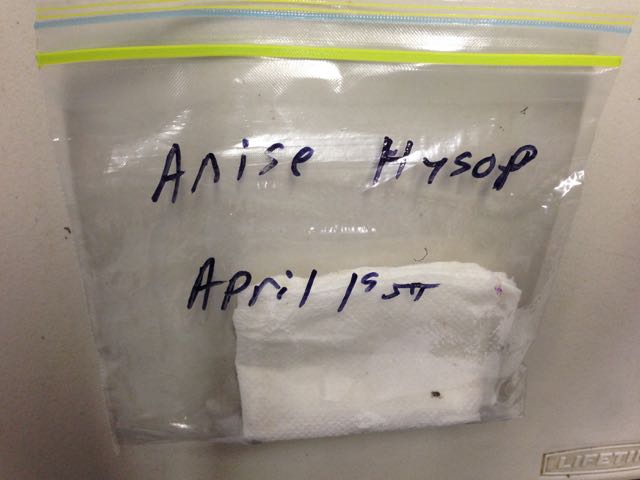
We can force plants to break dormancy by giving them what they need – damp, cold conditions for a period of time. This process of breaking dormancy via a period of cold weather is called stratification. The way I do it is to take a paper towel, wet it, squeeze all the water out so it is just damp and then put seeds on it. Once the seeds are on the paper towel, I fold it up, and put it in a sandwich bag. Make sure you label the sandwich bag with the type of plant and when the plant needs to come out based on how long it needs to stratify. You can see my bag labeled with the seeds wrapped in a paper towel in the picture titled “How to Stratify Seeds”.
Now take any sandwich bags that you have seeds to stratify in and put them in a brown paper bag to limit the amount of light that the seeds get. Now put the brown paper bag in a refrigerator. I usually put mine in a drawer just so it is out of the way.
After the time is up, pull the sandwich bag out and let it sit at room temperature for a day. At this point the seeds are ready to plant in soil.
You will find variations of this process that use Pete moss and other things. The damp paper towel has not let me down yet. I have done everything from exotic perennial seeds to apple seeds and they always have a pretty good success rate.
Want to Help Out a Small Business??
If you are local you can support our small business by buying plants at Great Escape Nursery . You can also help us by shopping on Amazon just by going through our storefront! As an Amazon Associate, I earn commission from qualifying purchases. There is no additional cost to you! Our storefront at Amazon is located at this link: https://www.amazon.com/shop/greatescapefarms. Buying from either location helps our business produce more content for you.
If you like this blog post and want to find out more about Great Escape Farms check out our Great Escape Farms Overview. Here you get an overview of all the wonderful stuff we are involved in. Also, sign up for our email list at the bottom of the linked page.
Great Escape Farms is now on Patreon! You can support us for as little as $1. If you enjoy our work and want to help support us, please check out our Patreon page at: https://www.patreon.com/gef.
Check out the YouTube video below for a video of the entire process of How to Stratify Seeds | Start Seed Stratification.

See this video, How to Stratify Seeds | Start Seed Stratification, and more at the Great Escape Farms YouTube Channel.
Leave a Reply