This post covers Polyethylene Water Tank How to Repair a Crack. We show you how to repair a crack in a Polyethylene Water Tank, but the same method can be used for anything made of polyethylene, including canoes, kayaks, or anything else.
The Tank
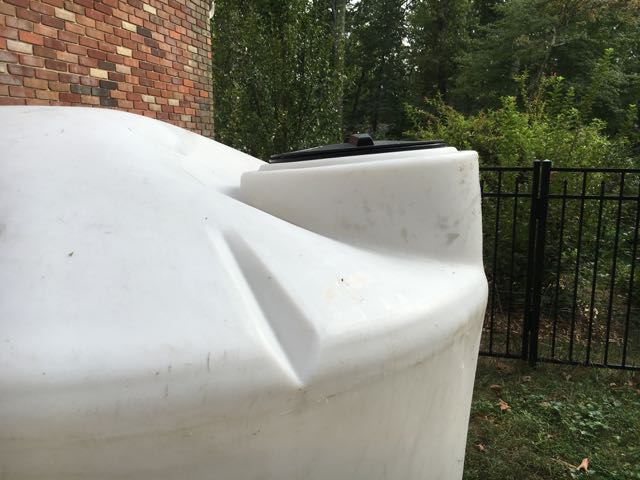
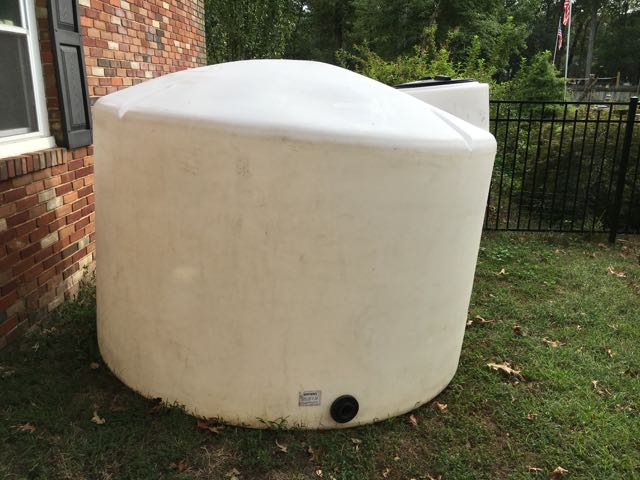
I bought two 1550-gallon polyethylene tanks that I found on Craig’s list. I bought both for $450, which is about half of what one tank costs. Both tanks needed a little repair, but it was still a good deal. This post covers how to repair a crack. I’ll do another post in the future on how to repair a hole or gouge.
The Crack
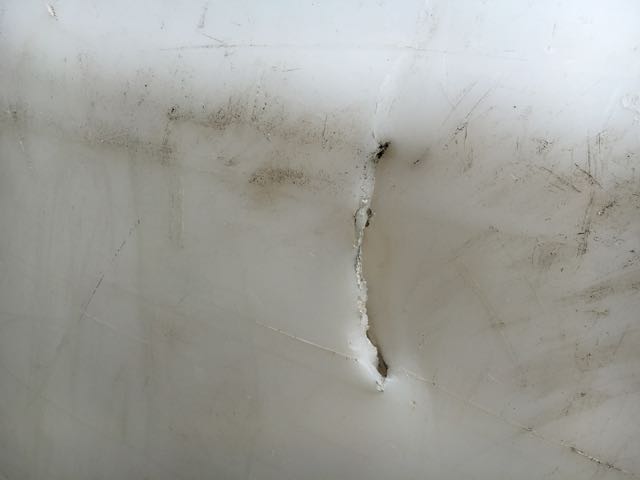
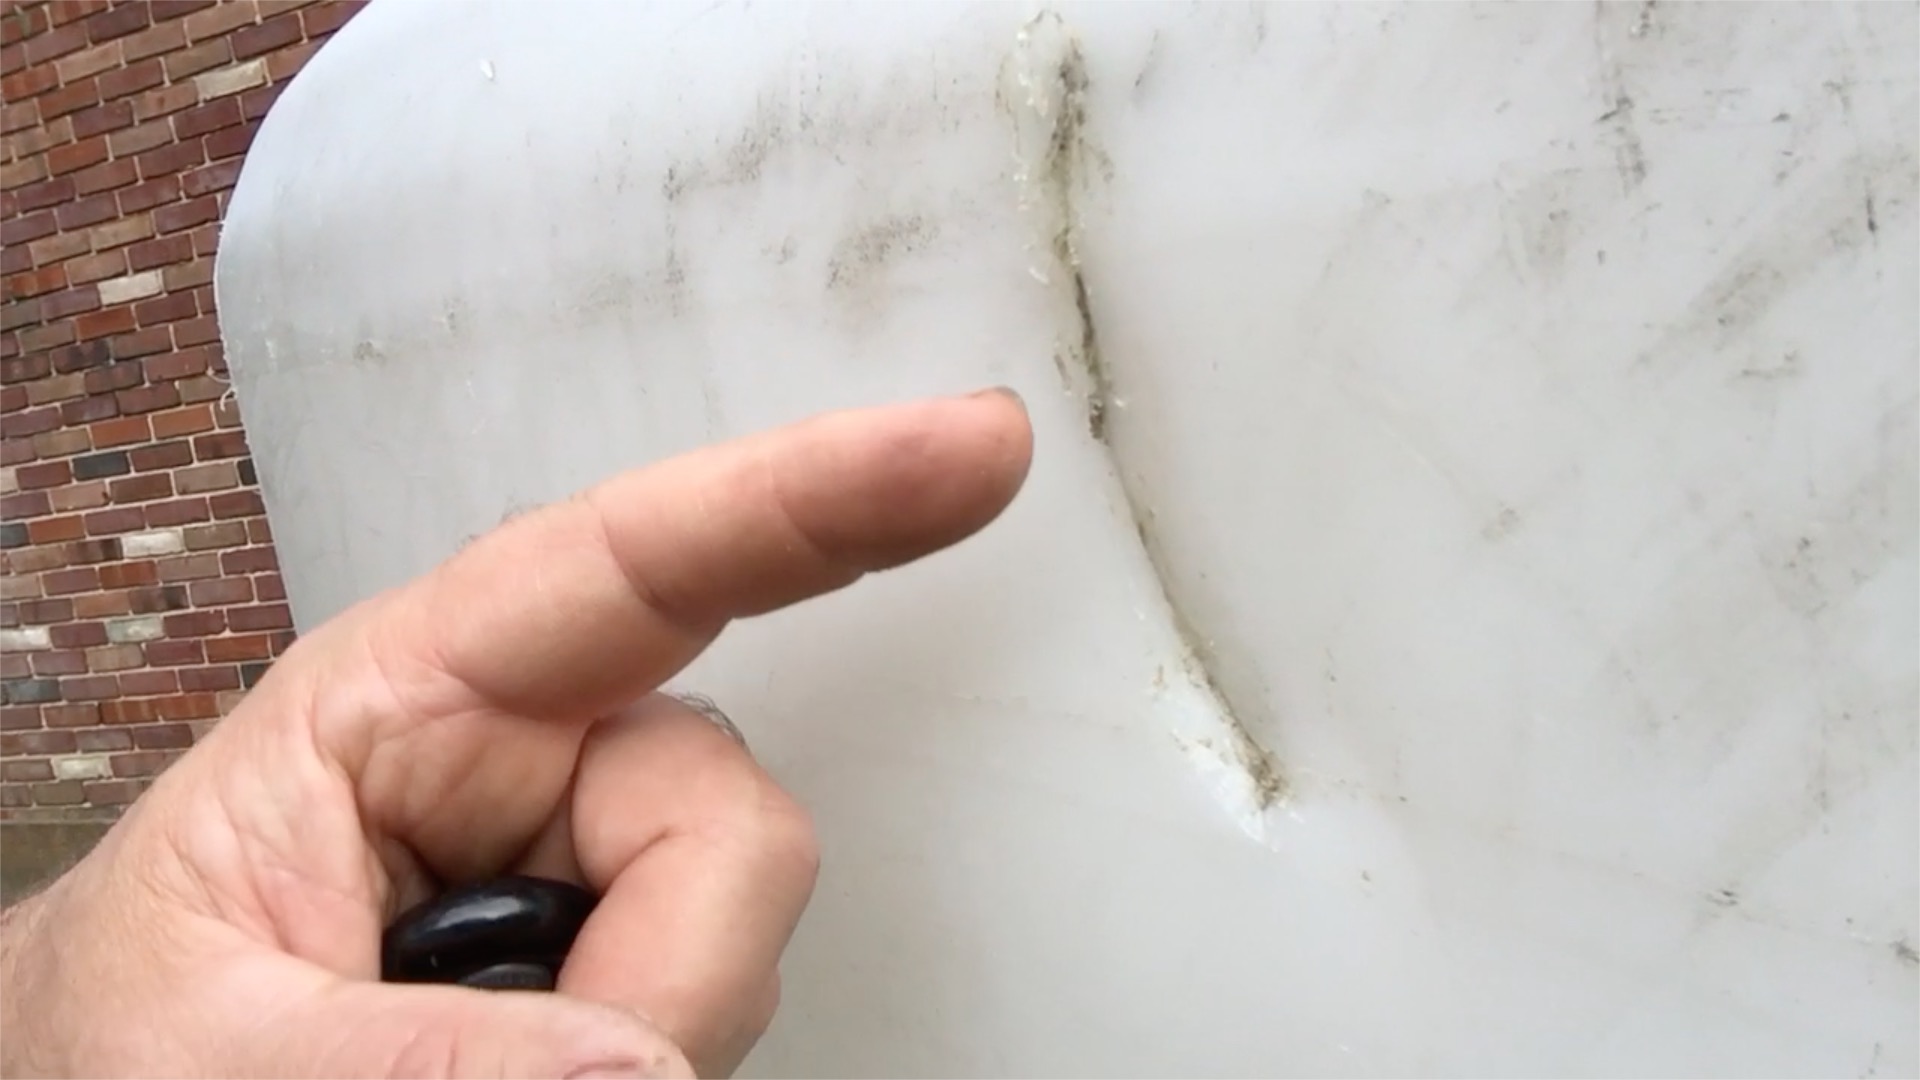
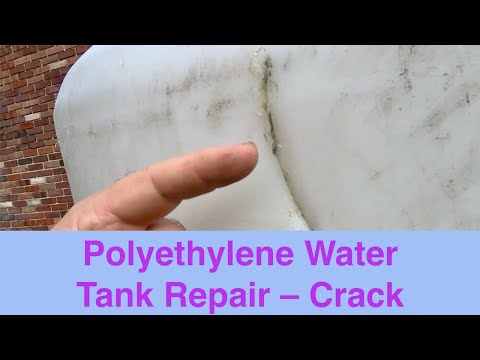
The crack that I’m working on looks like it happened by an object hitting the tank and creating the crack with one half of the cracked piece knocked inward.
Clean
The first step was to clean the tank. I did this with a brush, water, and mild dish soap. I washed the outside of the tank just like I would a car. This prevents dirt and debris from getting into the repaired area. On the inside, the tank had some sand in it. I took my shop vac in and vacuumed up all of the dirt on the inside and wiped down the repair area with a wet rag.
Level the Crack
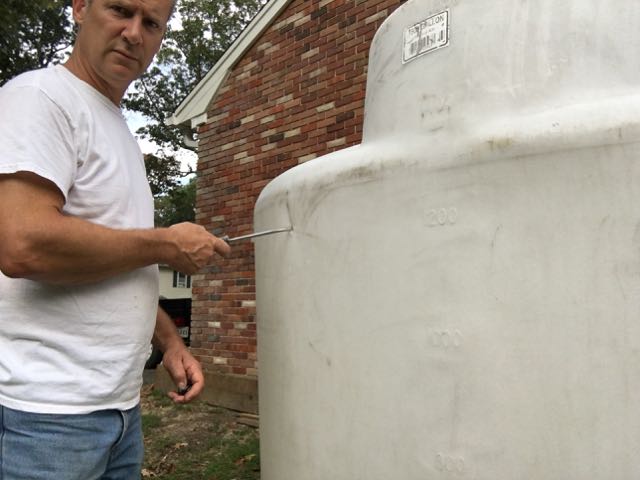
The next step is to level the crack. Two pieces on either side of the crack do not line up, so I stuck a screwdriver in the crack and pried the inner piece out to line up with the outer piece.
The Welder
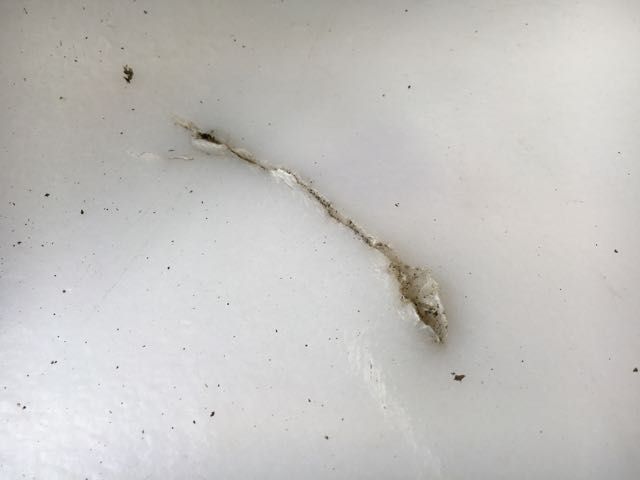
They make a kit for welding polyethylene. I bought my kit from Amazon and it cost just over $100. I’ll include a link to that below. The welding kit is like a big hot soldering iron with sticks of polyethylene that you use to fill in gaps.

Make a V
Plug the welder in and let it heat up. Then use the tip of the welder to melt the polyethylene on both sides of the crack, forming a “V” shape.
Fill the V
Then use the welder and supplied polyethylene sticks to fill the hole in the “V”. Be sure to get it hot enough to melt into the existing sides of the “V”.
Getting Inside
After I welded the outside of the crack, I moved to the inside of the tank. I’m not a horribly huge person and I’m able to get into the tank. If someone is trying this and is much larger than I am, they may not be able to get in the tank. The only recommendation I’d have if you can’t get into the tank is see if you can find a friend that will fit.
Inside Work
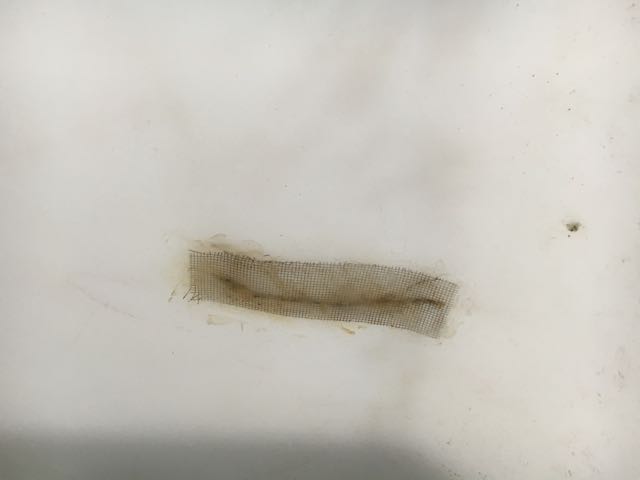
Once inside, make the same “V” as above in the crack. Then take the screen mesh supplied in the welding kit and melt it into both sides of the crack and into the “V”. Next fill the “V” with the supplied polyethylene sticks. The screen acts as a re-enforcement to the polyethylene kind of like rebar does for concrete.
Repair Complete
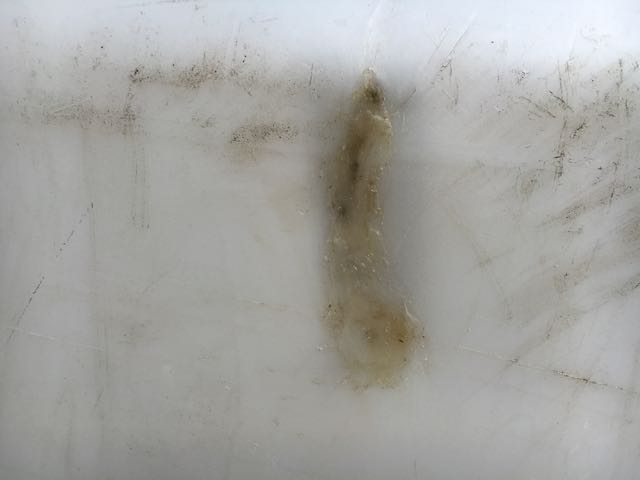
A picture of the completed project is below. As I get more experience I’m sure the repairs will look better, but structurally, it is strong.
Clean Up
At this point the tank is done. While you are cleaning everything up, make sure you scrub the tip of the polyethylene welder, while it is still hot, with a wire brush. This will clear away any residual polyethylene so it doesn’t bur onto the tip.
Amazon Link
Here is a link to the product that I bought. It is a great kit that has everything you need except for the wire brush to clean up with. As an Amazon Associate, I earn commission from qualifying purchases. There is no additional cost to you!
Poly Welder Pro 200 Watt Plastic Repair Kit (Natural)
?Want to Help our Small Business Out?
If you are local you can support our small business by buying plants at Great Escape Nursery . You can also help us by shopping on Amazon just by going through our storefront! As an Amazon Associate, I earn commission from qualifying purchases. There is no additional cost to you! Our storefront at Amazon is located at this link: https://www.amazon.com/shop/greatescapefarms. Buying from either location helps our business produce more content for you.
If you like this blog post and want to find out more about Great Escape Farms check out our Great Escape Farms Overview. Here you get an overview of all the wonderful stuff we are involved in. Also, sign up for our email list at the bottom of the linked page.
Great Escape Farms is now on Patreon! You can support us for as little as $1. If you enjoy our work and want to help support us, please check out our Patreon page at: https://www.patreon.com/gef.
The Video
Check out the video below titled Polyethylene Water Tank Repair – Crack.
Thanks for visiting the Polyethylene Water Tank Repair – Crack post.
Check out some of our other how-to posts here.
Please give us your feedback on Polyethylene Water Tank Repair – Crack by commenting below.
Leave a Reply