Large Rainwater Harvesting System Upgrade part 2 is the second in a multipart series on upgrading my rainwater harvesting system from 1200 gallons to 4500 gallons.
Great Escape Farms is now on Patreon! If you enjoy our work and want to help support us, please check out our Patreon page at: https://www.patreon.com/gef. You can support us for as little as $1.
1100-Gallons in a Week
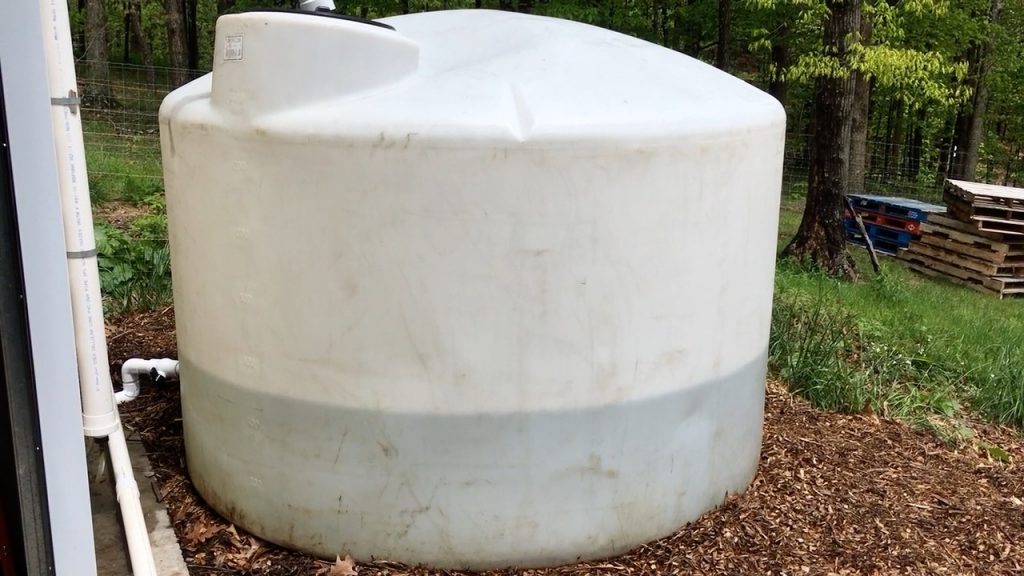
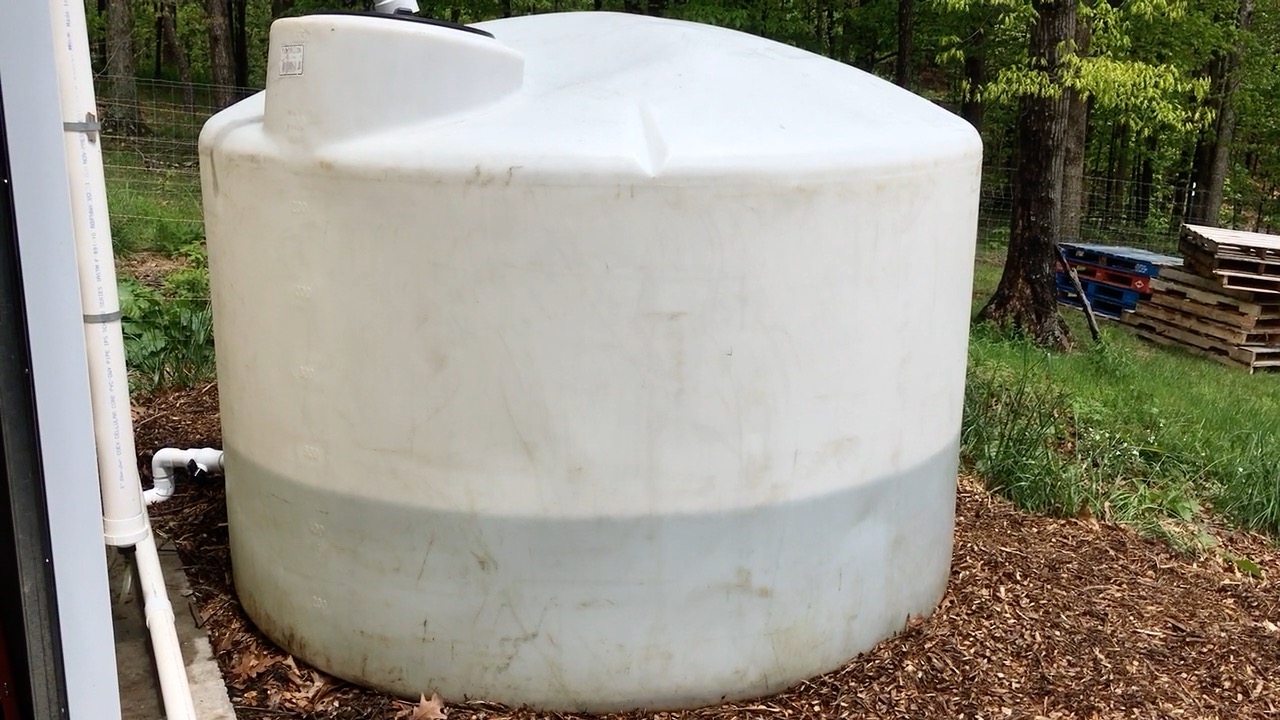
That’s right, in one week we collected 550-gallons of water in each of the two tanks for a total of 1100-gallons. But there is still a lot of work to do. While the gutters and filter system is connected to the top half of the tank, the bottom side plumbing is not hooked up yet.
From last week, we had quick disconnect hooked up and an on/off ball valve connected. That’s all that was connected on the bottom side of the tank.
A Leak
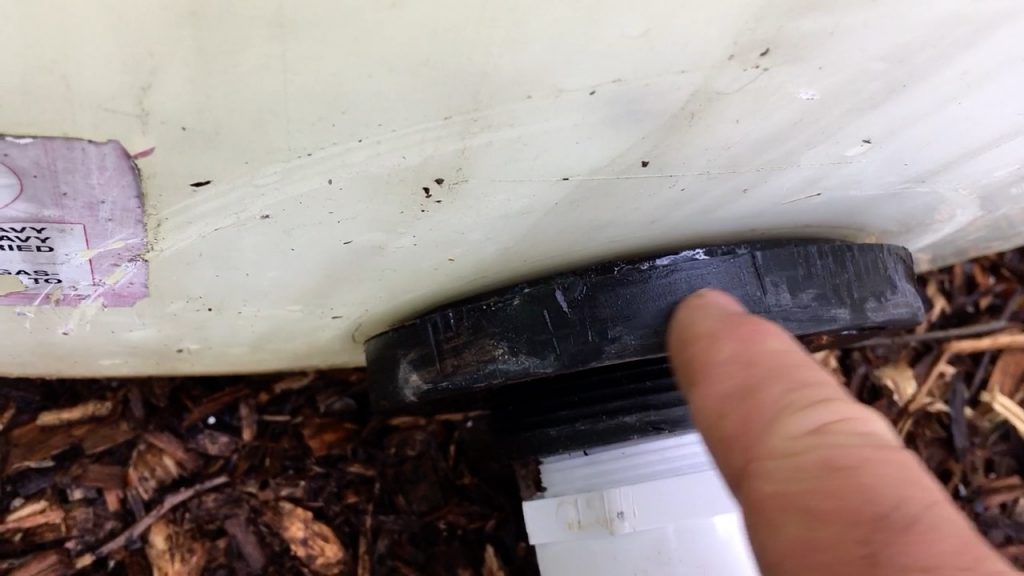
One of the first things I noticed when I arrived this week was a leak on the bottom side of the white tank. The leak was not in the tank itself, but with the threads coming out of the tank connecting to the plumbing.
I grabbed a pipe wrench to tighten the nut on the threads and the leak got worse. That’s when I noticed that the nut was warped. This meant I needed to replace the nut with a new one.
Water Transfer
Because I had 550 gallons of water that I did not want to lose in this tank, I decided to transfer the water to the other tank. The way I did this was to temporarily hook this tank up to the pump and pump the water into the other tank. This worked great and got the water level down to about 200 gallons.
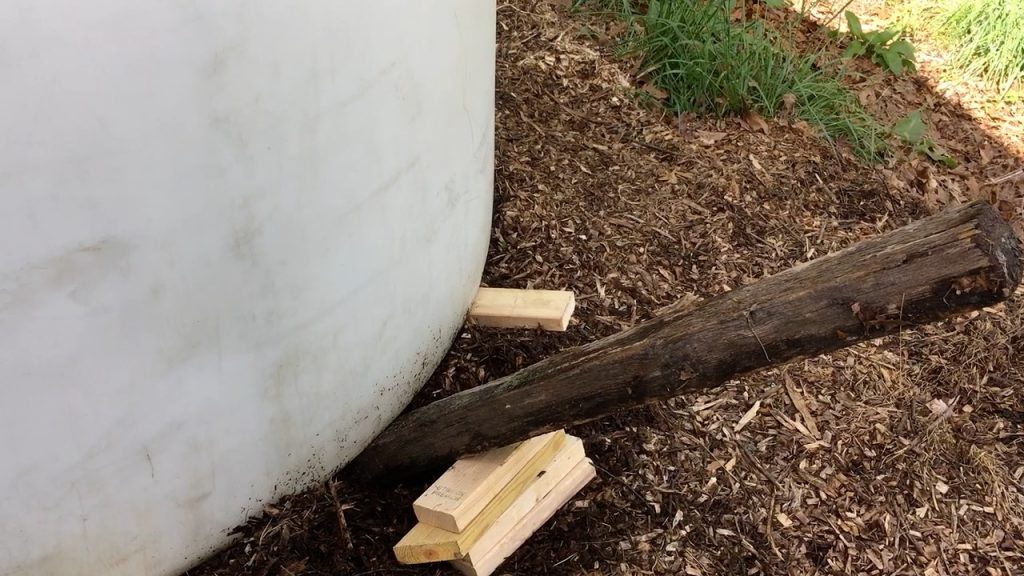
The last 200 gallons wouldn’t come out because of the way the valve was connected up, but I did realize that until later. To get the rest of the water out so I could work on the valve, I used a leverage system to lift one side of the tank. Check out the video below to see how that was done.
New Nut
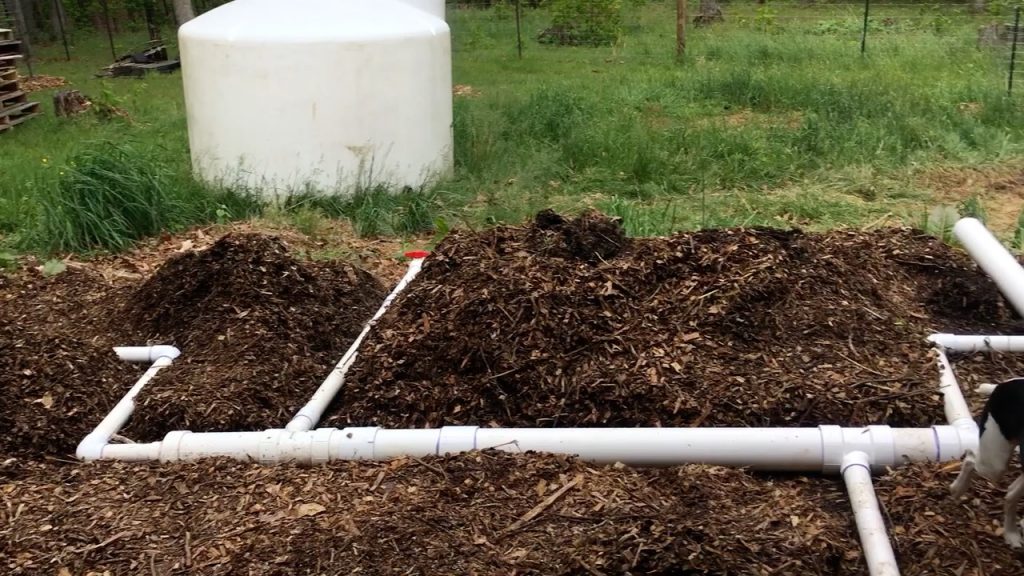
I took a nut from the third tank and put it on the one that was connected up. It worked great. By this point I had the bottom plumbing complete, see Large Rainwater Harvesting System Upgrade part 3 for details on that. So, I opened the valves and backfilled the tank and checked for leaks. There was one little drip which was taken care of with the pipe wrench.
Please Help our Small Business Out
If you are local you can support our small business by buying plants at Great Escape Nursery . You can also help us by shopping on Amazon just by going through our storefront! As an Amazon Associate, I earn commission from qualifying purchases. There is no additional cost to you! Our storefront at Amazon is located at this link: https://www.amazon.com/shop/greatescapefarms. Buying from either location helps our business produce more content for you.
If you like this blog post and want to find out more about Great Escape Farms check out our Great Escape Farms Overview. Here you get an overview of all the wonderful stuff we are involved in. Also, sign up for our email list at the bottom of the linked page.
The Video
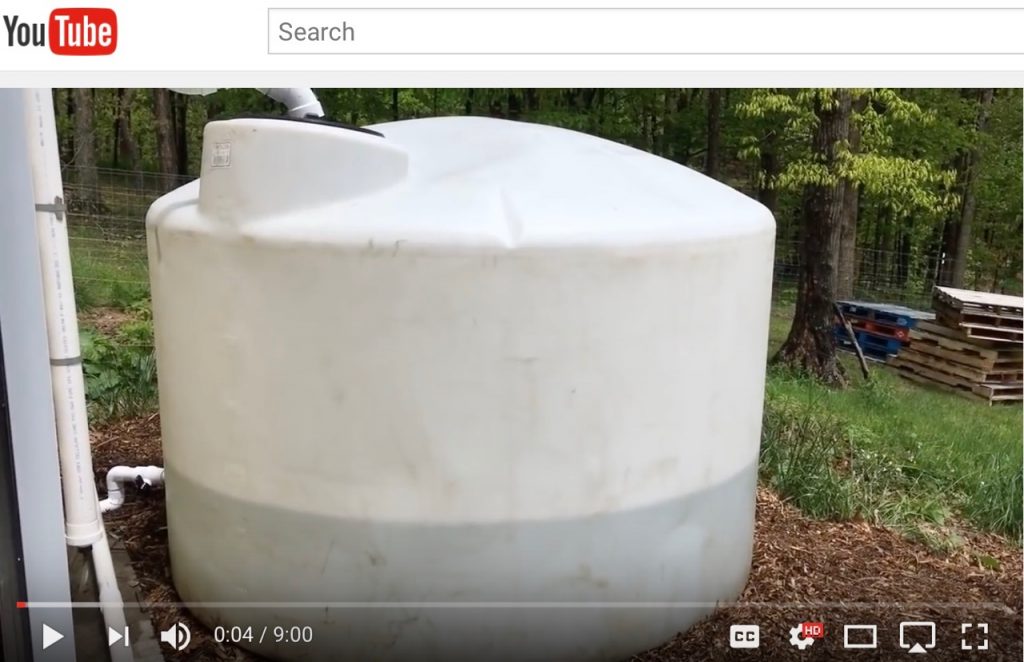
Check out the video below titled Large Rainwater Harvesting System Upgrade part 2.
Thanks for viewing the Large Rainwater Harvesting System Upgrade part 2 post.
Please give us your thoughts on Large Rainwater Harvesting System Upgrade part 2 by commenting below.
Leave a Reply